The VS Code Extension Marketplace is the place where you can publish your high-quality custom extensions once you’ve finished building them and you’re ready to share them with the world.
There are some situations, however, where you may not want your extensions to be publicly accessible, like when you’re still in the early stages of development, or when you’re building a private extension that should remain internal to your team.
At the time of writing, there isn’t an option for creating some sort of private marketplace: the official way for sharing your extensions privately with other developers is to build the extension and send them the packaged .vsix file.
This post illustrates how you can automate this process, creating a CI/CD pipeline on Azure DevOps that builds the extension on every commit and publishes the package to a private Azure Artifacts feed. Using Azure DevOps you can keep track of the different versions of your extension, and use permissions to manage who can download it.
Create a feed
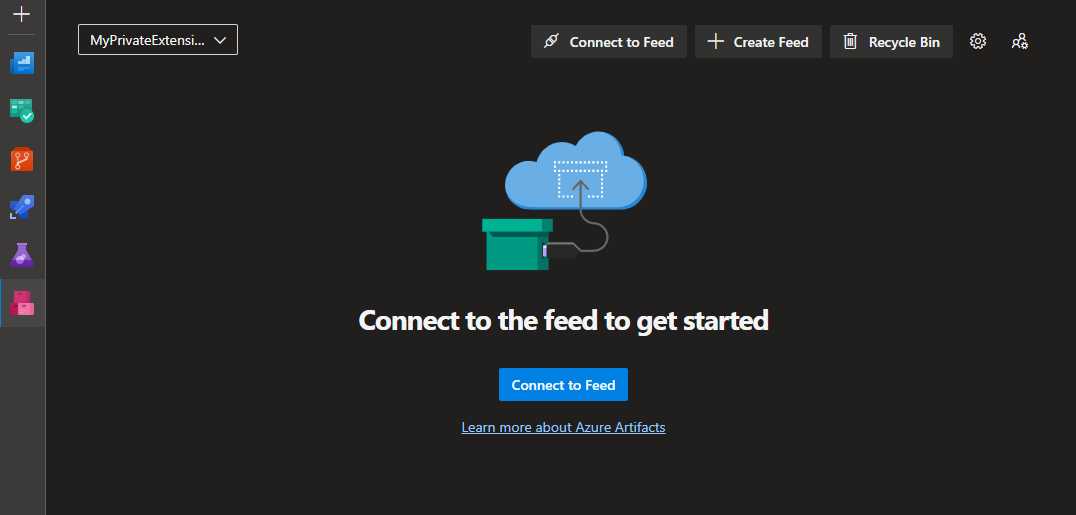
First, you need to create a private feed on Azure Artifacts. You can do this by going to the Azure DevOps portal and selecting the project where you want to create the feed. Inside the project, go to the Artifacts section, and select Create Feed. Fill in the details, and then click on Create to create the Azure Artifacts feed. Right now the feed appears empty; once you start publishing your extensions, you’ll see them listed here.
Create a CI/CD pipeline
The idea here is that each commit on the main branch will trigger a pipeline, that will build the VSIX package and publish it to the feed. You can use YAML to create a pipeline definition that is versioned in your repository alongside the code of the extension.
Create a file named azure-pipelines.yml in the root folder of the project, and add the steps required for building the package:
trigger:
  - main # Run the pipeline for each commit on the main branch

pool:
  vmImage: ubuntu-latest

steps:
  - task: NodeTool@0
    inputs:
      versionSpec: "16.x"
    displayName: "Install Node.js"

  # Install dependencies and VS Code Extension Manager
  - script: |
      npm install -g vsce
      npm install
    displayName: "Install vsce and dependencies"

  # Build and package the extension
  - script: |
      vsce package
    displayName: "Package the extension"

  # Copy the generated vsix file
  - task: CopyFiles@2
    inputs:
      SourceFolder: "$(Build.SourcesDirectory)"
      Contents: |
        **/*.vsix
      TargetFolder: "$(Build.ArtifactStagingDirectory)"

  - task: PublishPipelineArtifact@1
    inputs:
      targetPath: "$(Build.ArtifactStagingDirectory)"
      artifact: "extension"
      publishLocation: "pipeline"
(Optional) Setup automatic semantic versioning with GitVersion
While the version of the extension can be manually set in the package.json, there are tools like GitVersion that can automatically generate a version number based on your git history and branch names. GitVersion integrates well with branching strategies like GitFlow or GitHub Flow, and its behavior can be further customized by adding a configuration file to your repository.
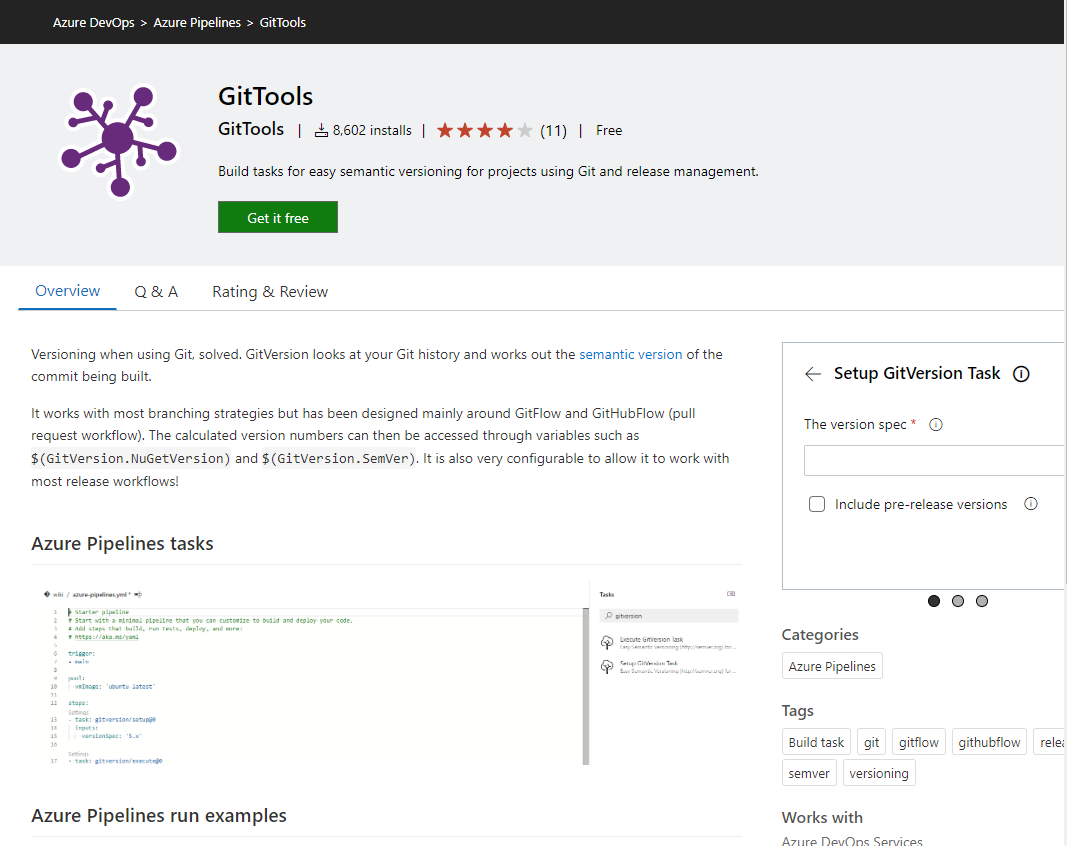
To use GitVersion in your pipeline, you need to install the GitTools extension to your Azure DevOps organization. From the marketplace, find the GitTools extension and install it in your organization.
Then, add the following steps to the beginning of your pipeline, just before the NodeTool task:
  - task: gitversion/setup@0
    displayName: 'Setup GitVersion'
    inputs:
      versionSpec: '5.x'

  - task: gitversion/execute@0
    displayName: 'Execute GitVersion'

  - task: Bash@3
    displayName: 'Set version number in package.json'
    inputs:
      targetType: 'inline'
      script: |
        PATTERN='s/"version": "*.*.*"/"version": "'$VERSION_NUMBER'"/g'
        sed -i "$PATTERN" package.json
    env:
      VERSION_NUMBER: $(GitVersion.SemVer)
The first two tasks are needed to set up GitVersion and to determine the semantic version number; the third step replaces the version in the package.json with the value generated by GitVersion.
Publish to Azure Artifacts
Azure Artifacts doesn’t have a specific category for managing VSIX packages, so you can publish them as Universal Packages. Add the following task to the end of the pipeline:
  # Publish the extension to the Azure Artifacts Feed
  - task: UniversalPackages@0
    inputs:
      command: 'publish'
      publishDirectory: '$(Build.ArtifactStagingDirectory)'
      feedsToUsePublish: 'internal'
      vstsFeedPublish: 'YOUR_FEED_ID' # the ID of your Azure Artifacts Feed
      vstsFeedPackagePublish: 'YOUR_PACKAGE_NAME' # the name of your package
      versionOption: 'custom'
      versionPublish: '$(GitVersion.SemVer)'
Replace the placeholders YOUR_FEED_ID and YOUR_PACKAGE_NAME with your actual values.
Run the pipeline
The complete pipeline definition should be similar to the following:
trigger:
  - main # Run the pipeline for each commit on the main branch

pool:
  vmImage: ubuntu-latest

steps:
  - task: gitversion/setup@0
    displayName: 'Setup GitVersion'
    inputs:
      versionSpec: '5.x'

  - task: gitversion/execute@0
    displayName: 'Execute GitVersion'

  - task: Bash@3
    displayName: 'Set version number in package.json'
    inputs:
      targetType: 'inline'
      script: |
        PATTERN='s/"version": "*.*.*"/"version": "'$VERSION_NUMBER'"/g'
        sed -i "$PATTERN" package.json
    env:
      VERSION_NUMBER: $(GitVersion.SemVer)

  - task: NodeTool@0
    inputs:
      versionSpec: '16.x'
    displayName: 'Install Node.js'

  # Install dependencies and VS Code Extension Manager
  - script: |
      npm install -g vsce
      npm install
    displayName: 'Install vsce and dependencies'

  # Build and package the extension
  - script: |
      vsce package
    displayName: 'Package extension'

  # Copy the generated vsix file
  - task: CopyFiles@2
    inputs:
      SourceFolder: '$(Build.SourcesDirectory)'
      Contents: |
        **/*.vsix
      TargetFolder: '$(Build.ArtifactStagingDirectory)'

  - task: PublishPipelineArtifact@1
    inputs:
      targetPath: '$(Build.ArtifactStagingDirectory)'
      artifact: 'extension'
      publishLocation: 'pipeline'

  # Publish the extension to the Azure Artifacts Feed
  - task: UniversalPackages@0
    inputs:
      command: 'publish'
      publishDirectory: '$(Build.ArtifactStagingDirectory)'
      feedsToUsePublish: 'internal'
      vstsFeedPublish: 'YOUR_FEED_ID' # the ID of your Azure Artifacts Feed
      vstsFeedPackagePublish: 'YOUR_PACKAGE_NAME' # the name of your package
      versionOption: 'custom'
      versionPublish: '$(GitVersion.SemVer)'
On Azure DevOps, create a new pipeline from this definition and run it. If everything’s ok the build should succeed.
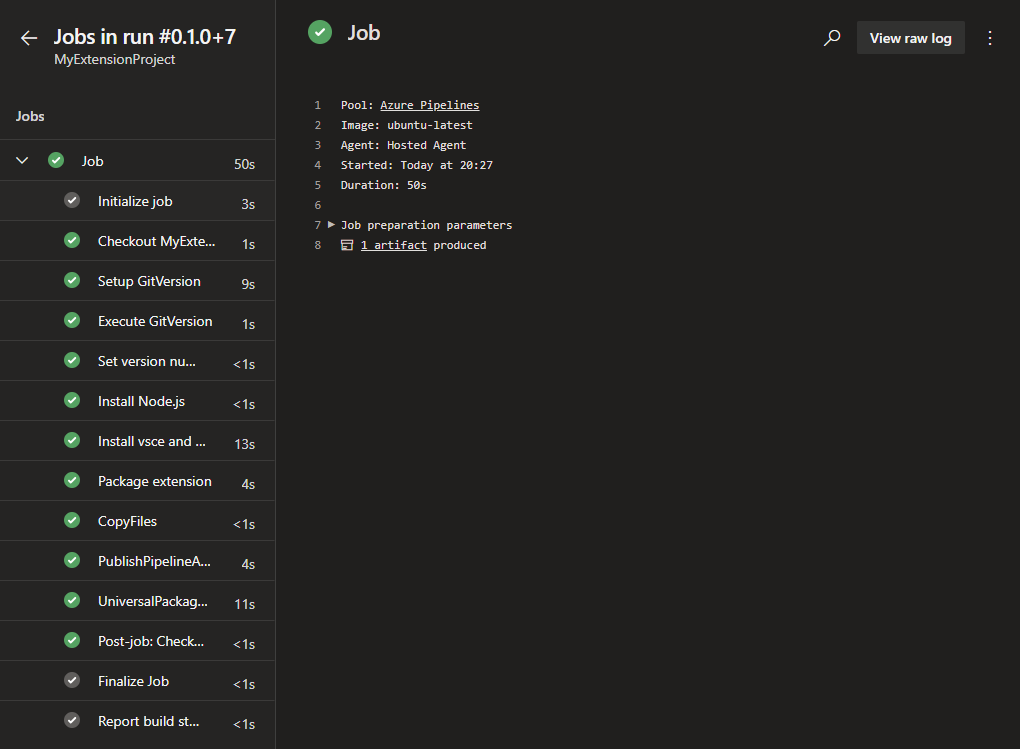
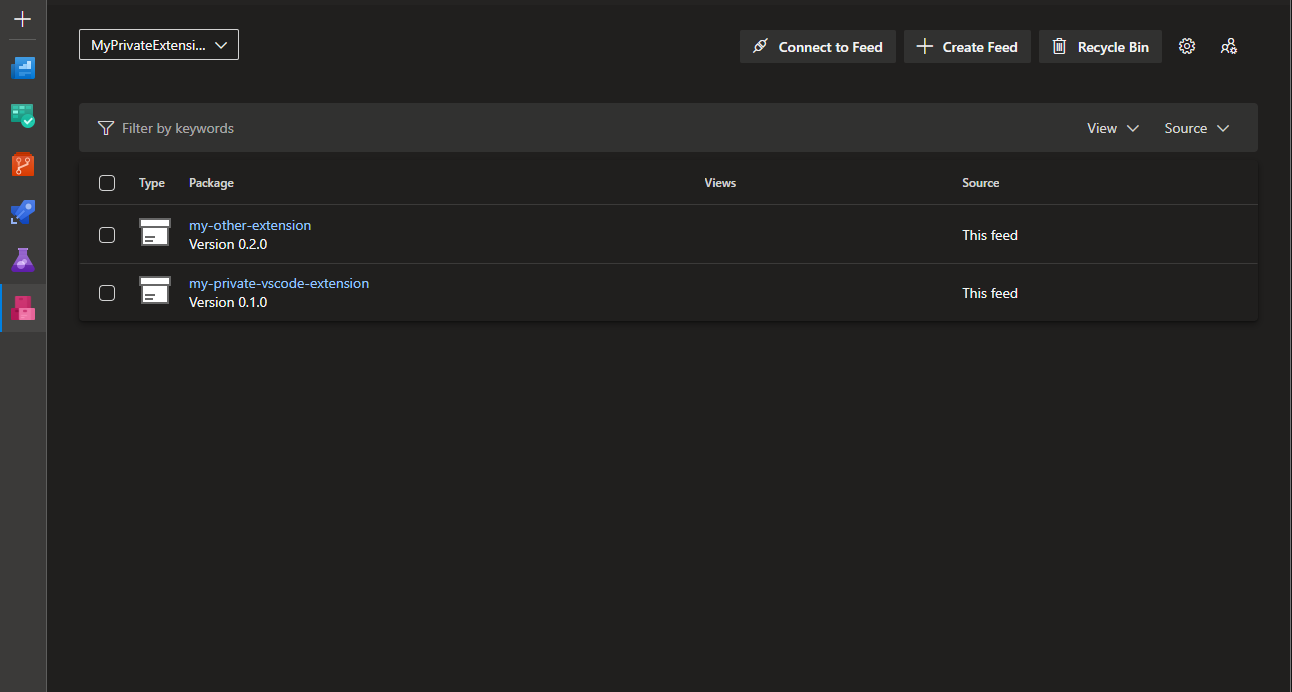
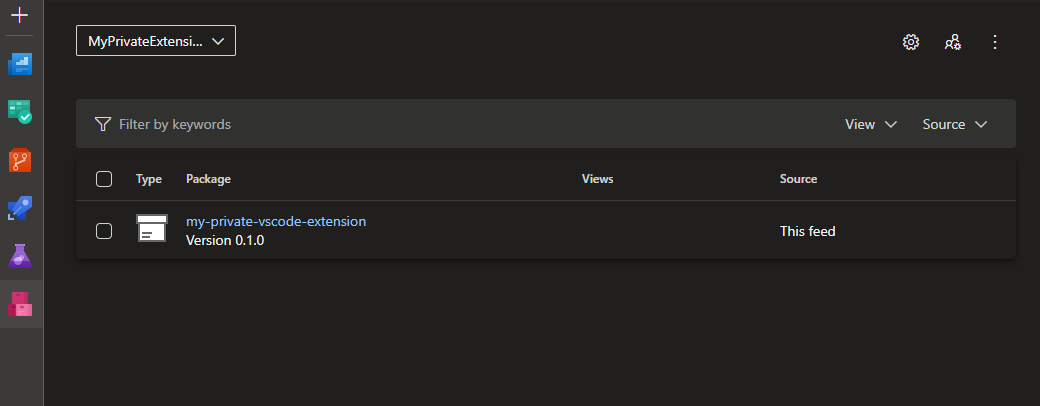
Returning to your Azure Artifacts feed, you should now see your extension listed.
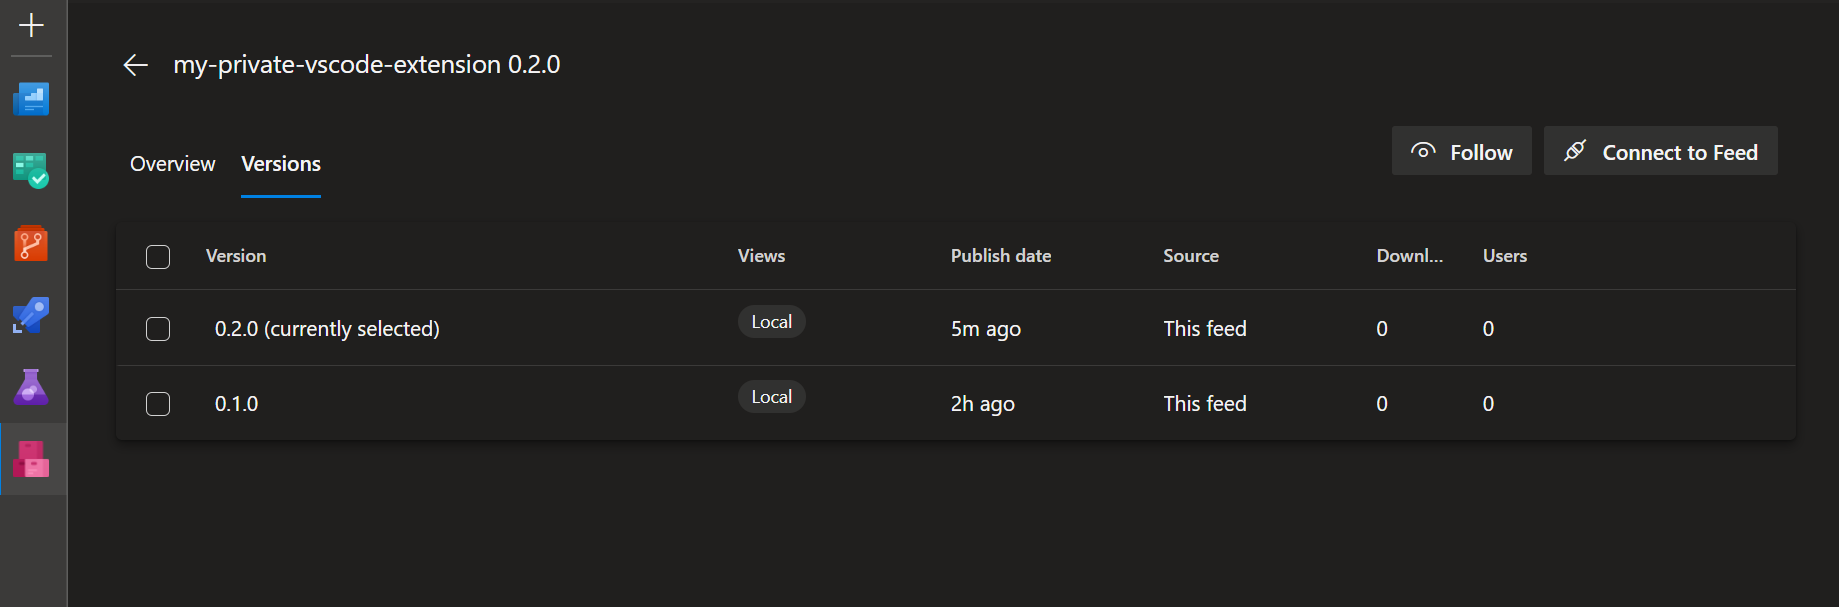
Once you start publishing more versions of the extension, you’ll be able to list all of them by clicking on the name of the extension and going to the Versions tab.
Download and install a package
Now that the extension has been published to the Azure Artifact feed, you don’t need to manually send the .vsix file anymore to other developers if you need to share it. Instead, if they have the right permissions, they can download it directly from the feed using the Azure CLI.
Specifically, this requires the use of the Azure DevOps extension; you can install it by running the following command from a terminal:
az extension add --name azure-devopsThen you need to authenticate to Azure Artifacts. The exact steps can be found on the feed’s page, by clicking on Connect to Feed and then selecting Universal Packages.
For instance, on a Windows machine with an AAD or MSA identity, you can log in using the following command:
az loginFinally, run this command to download the extension (again replacing the placeholders with your actual values):
az artifacts universal download --organization https://dev.azure.com/YOUR_ORGANIZATION/ --project="YOUR_PROJECT" --scope project --feed YOUR_FEED --name PACKAGE_NAME --version PACKAGE_VERSION --path .More information on managing Universal Packages can be found in the Microsoft documentation.
Once downloaded, run this command to install the extension to VS Code:
code --install-extension PACKAGE_NAME.vsixNote: if you get an error like “An error occurred on the service. TF400813: The user ‘xxx’ is not authorized to access this resource.” when trying to download the package, verify that the user you’re logged in with has the right permissions to access the feed, then try logging out and back in with
az logoutandaz loginto refresh credentials.
Conclusion
In this post, we’ve seen how to share a private VS Code extension with other developers using Azure Artifacts. This is a great way to distribute extensions that are not meant to be published on the VS Code Marketplace, for instance, because they’re specific to your organization or because they’re still in development.
If you have any questions or feedback, feel free to reach out to me!